 "Urambo Tauro" (urambotauro)
03/24/2017 at 18:00 • Filed to: 41te, automatic transmission, rebuild, teardown, blog
 3
3
 4
4|
"Urambo Tauro" (urambotauro)
03/24/2017 at 18:00 • Filed to: 41te, automatic transmission, rebuild, teardown, blog | 3
| 4 |
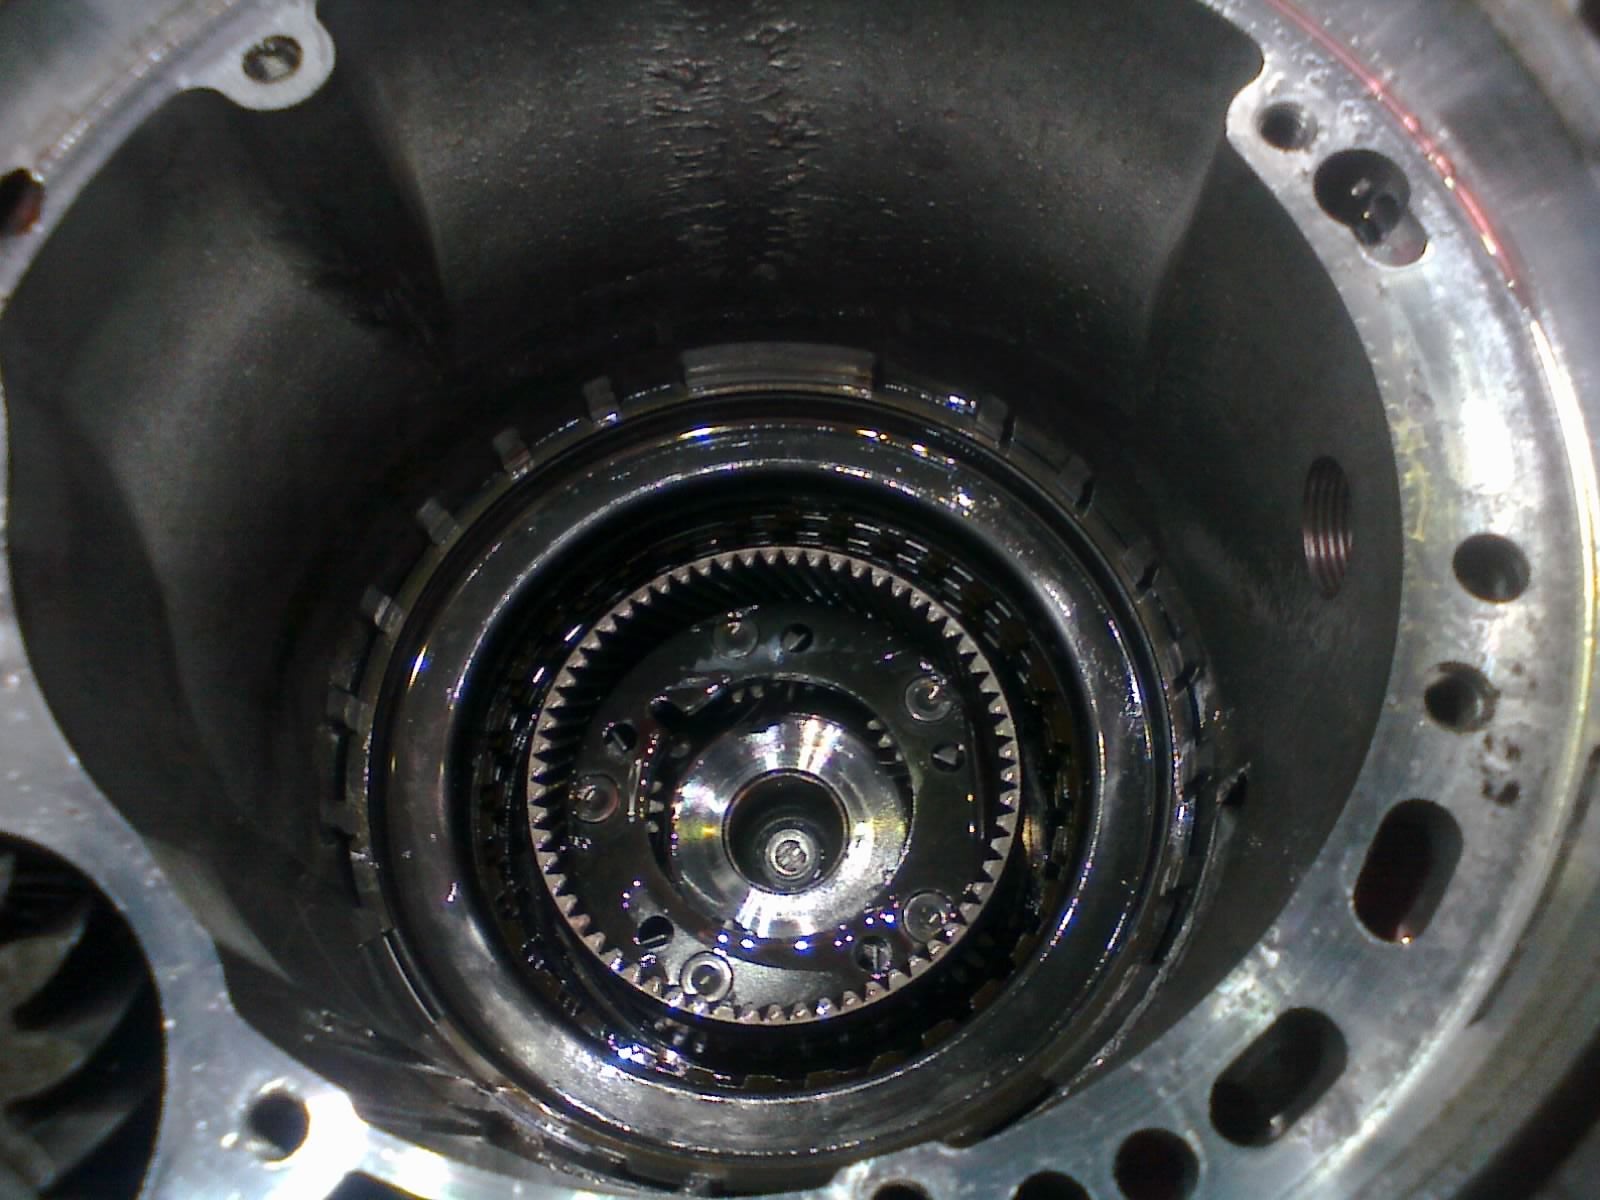
Time to finish gutting the case.
(The nice thing about removing the geartrain is that the case no longer has an awkward amount of weight on one side. It’s much easier to rotate on the stand now.)
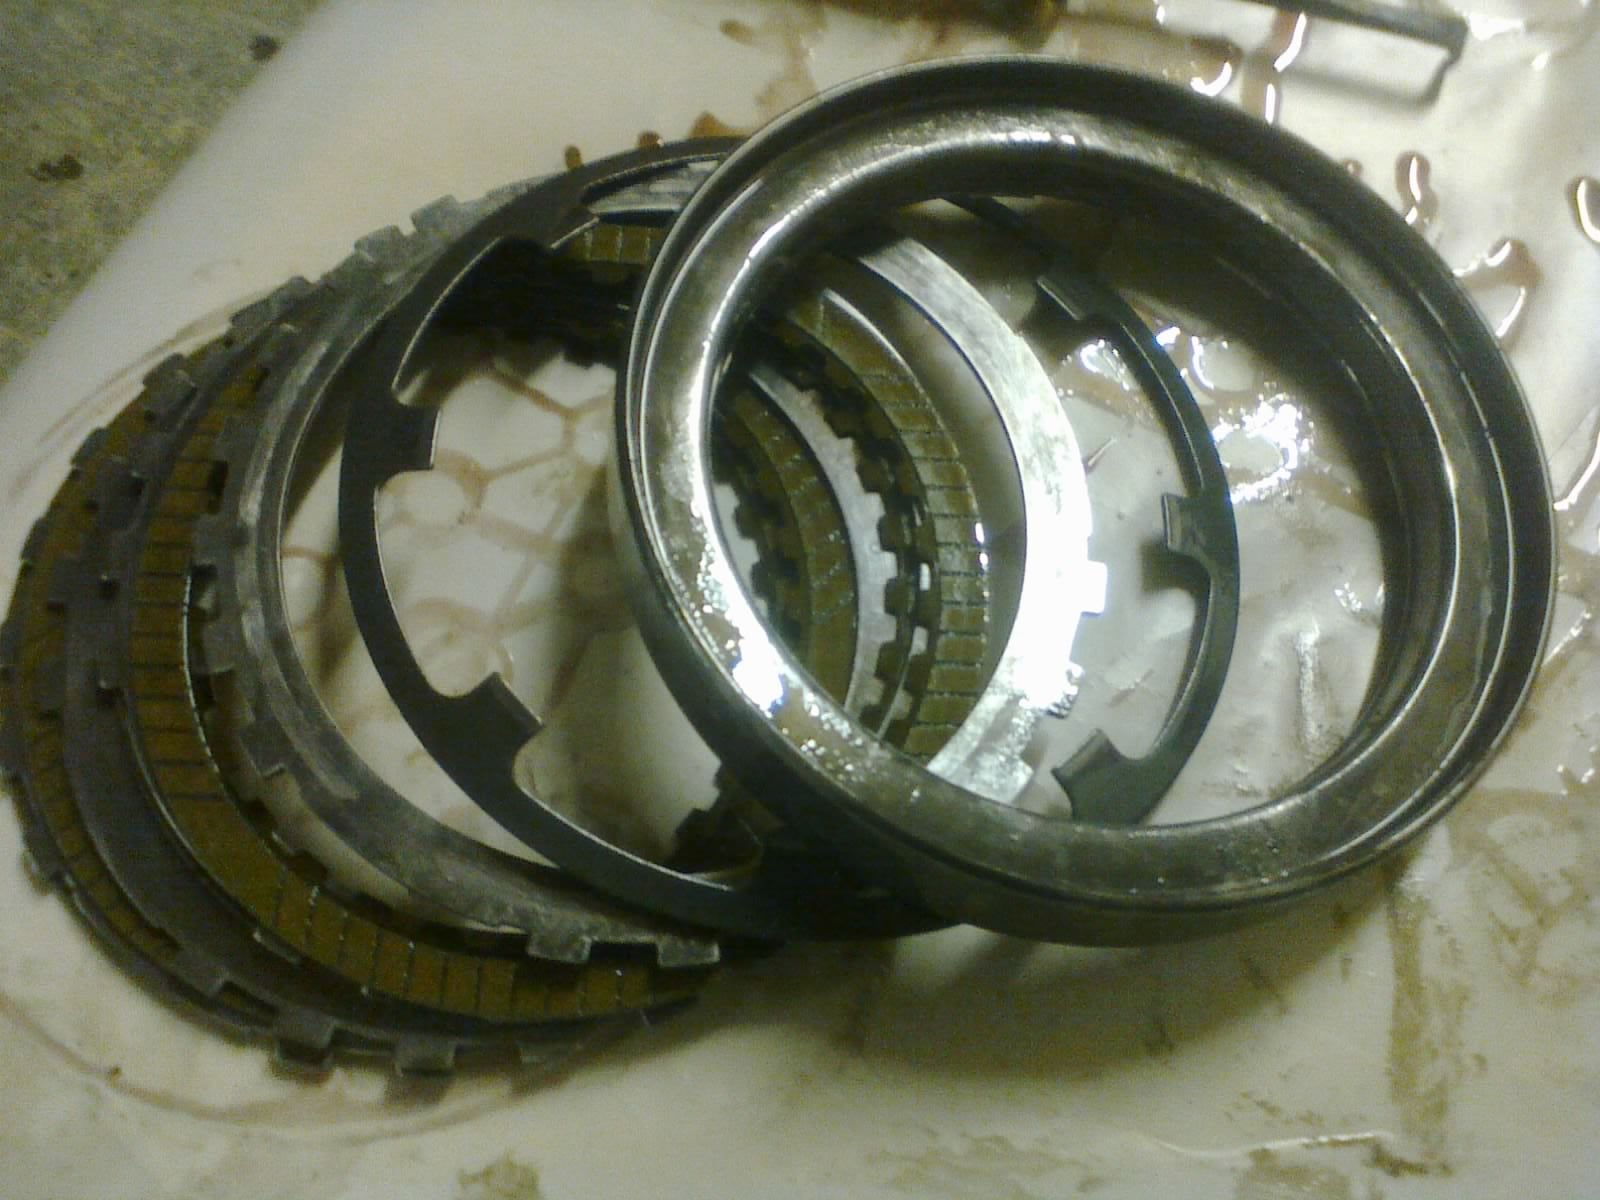
Underneath the 2-4 clutch piston, we find some friction & steel plates...
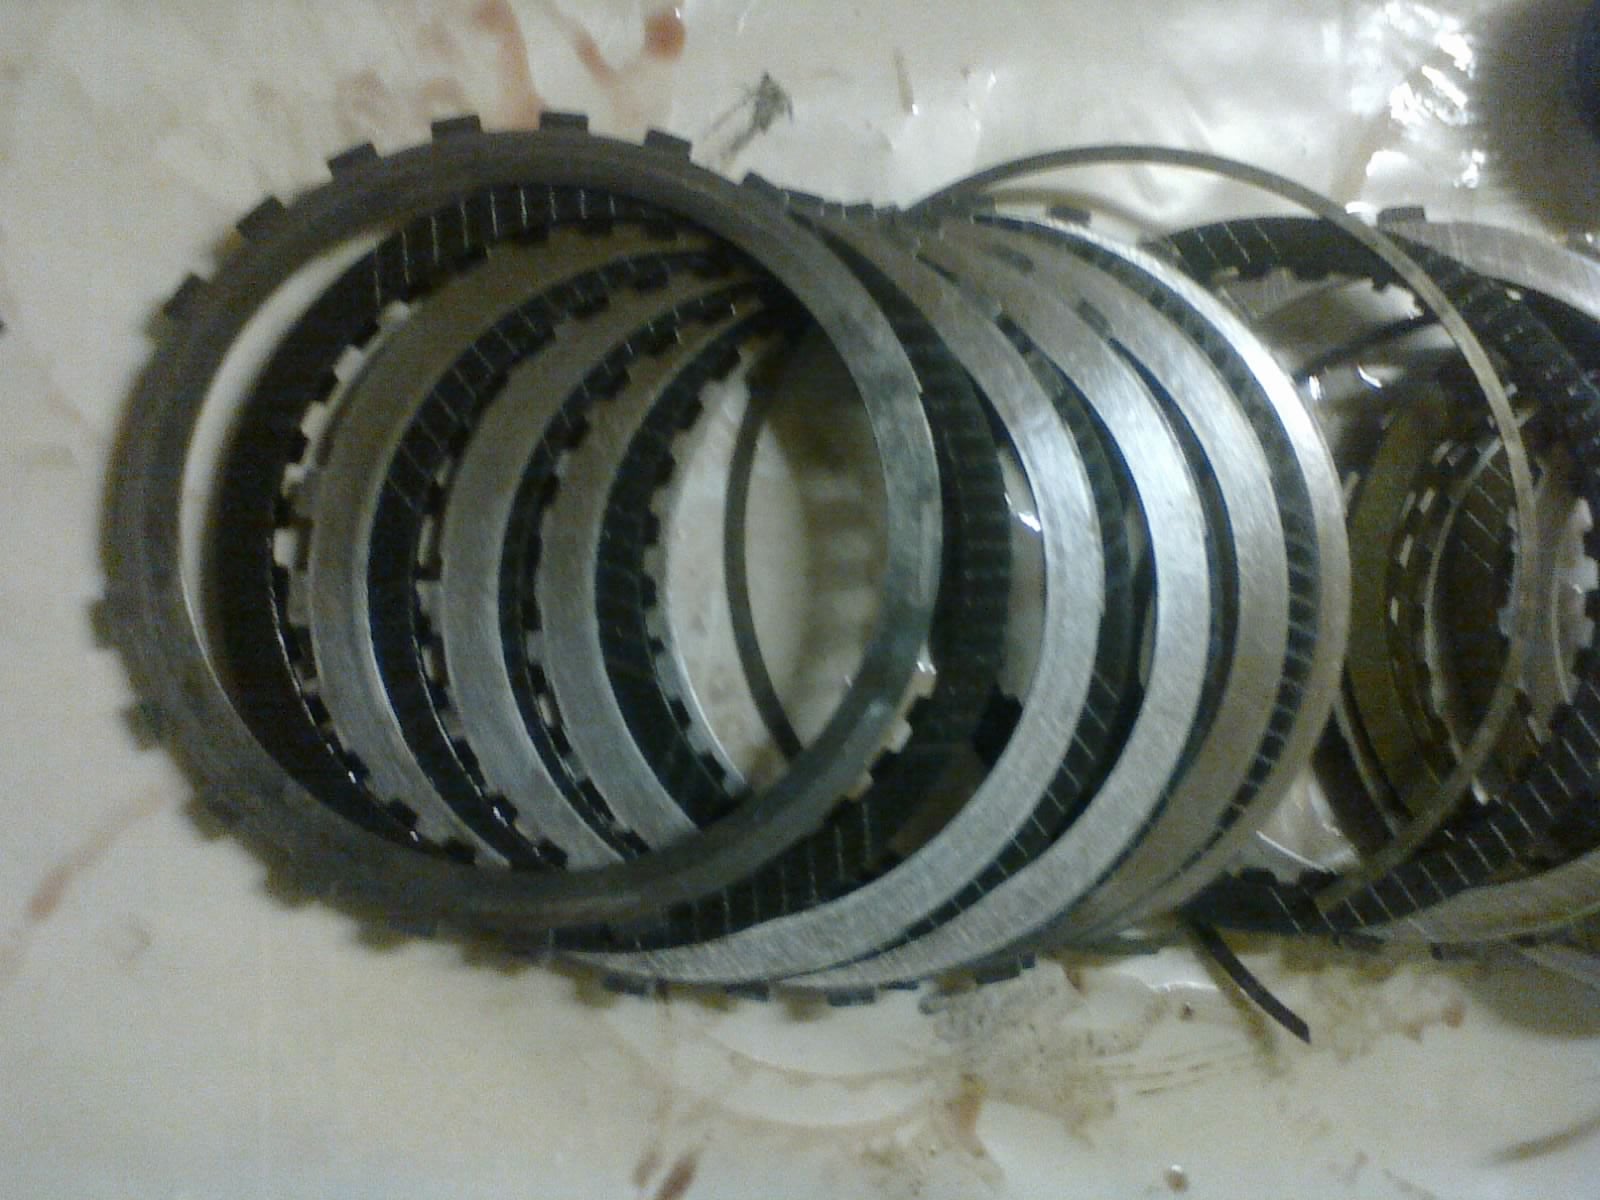
...then some more (low/reverse)
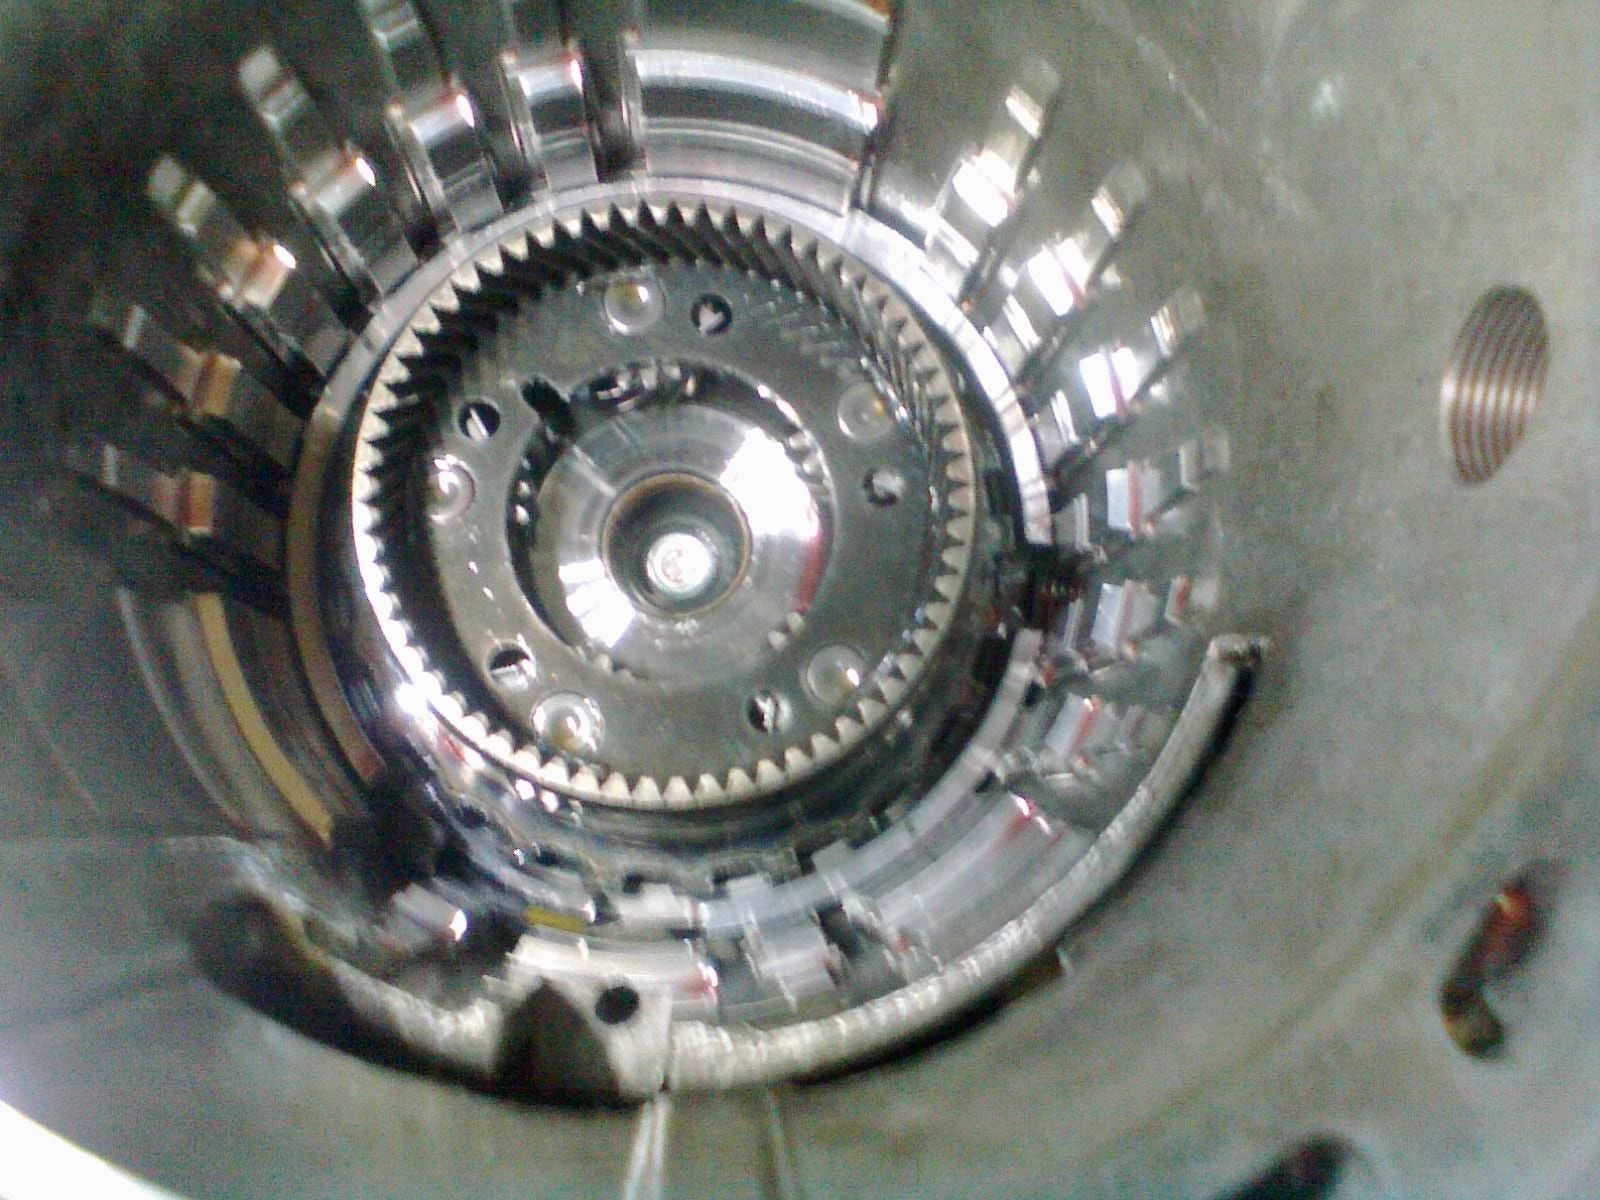
And now the rear planetary carrier can come out
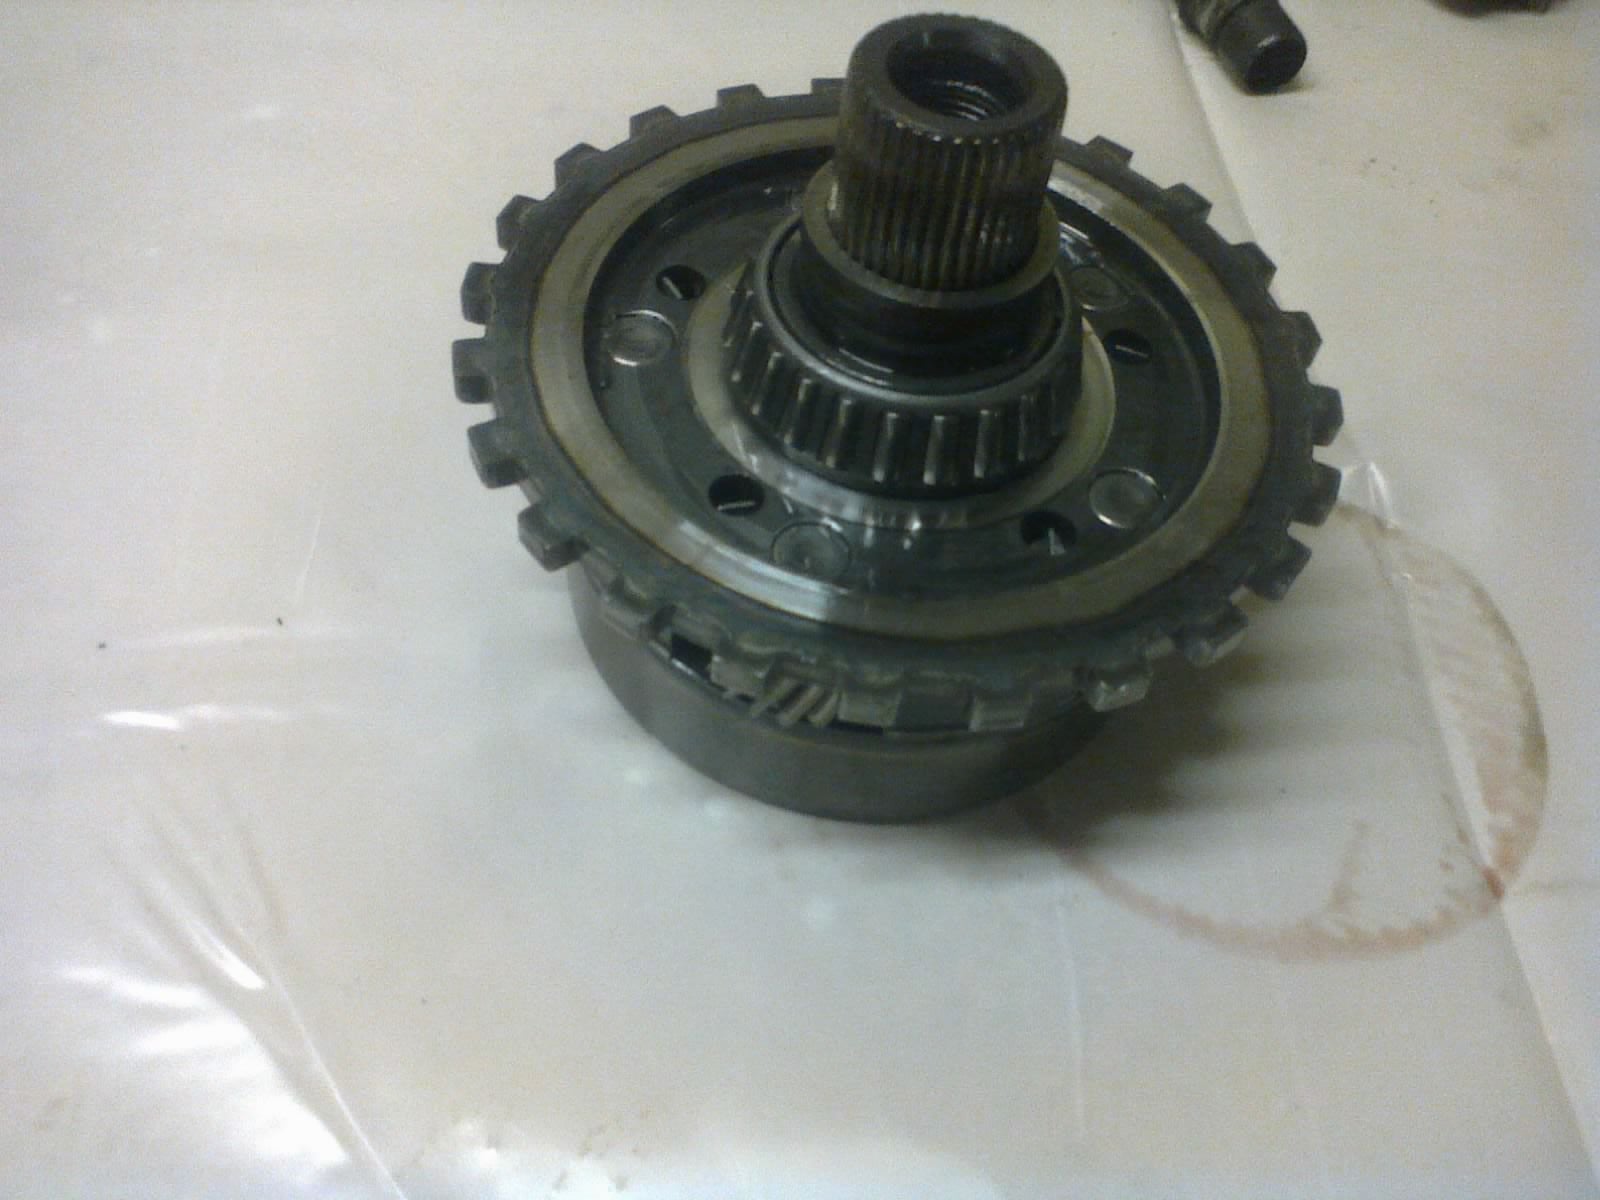
Rear-of-transmission planetary, planetary, rear-of-transmission, rear-of-transmission planetary, planetary, rear-of-transmission
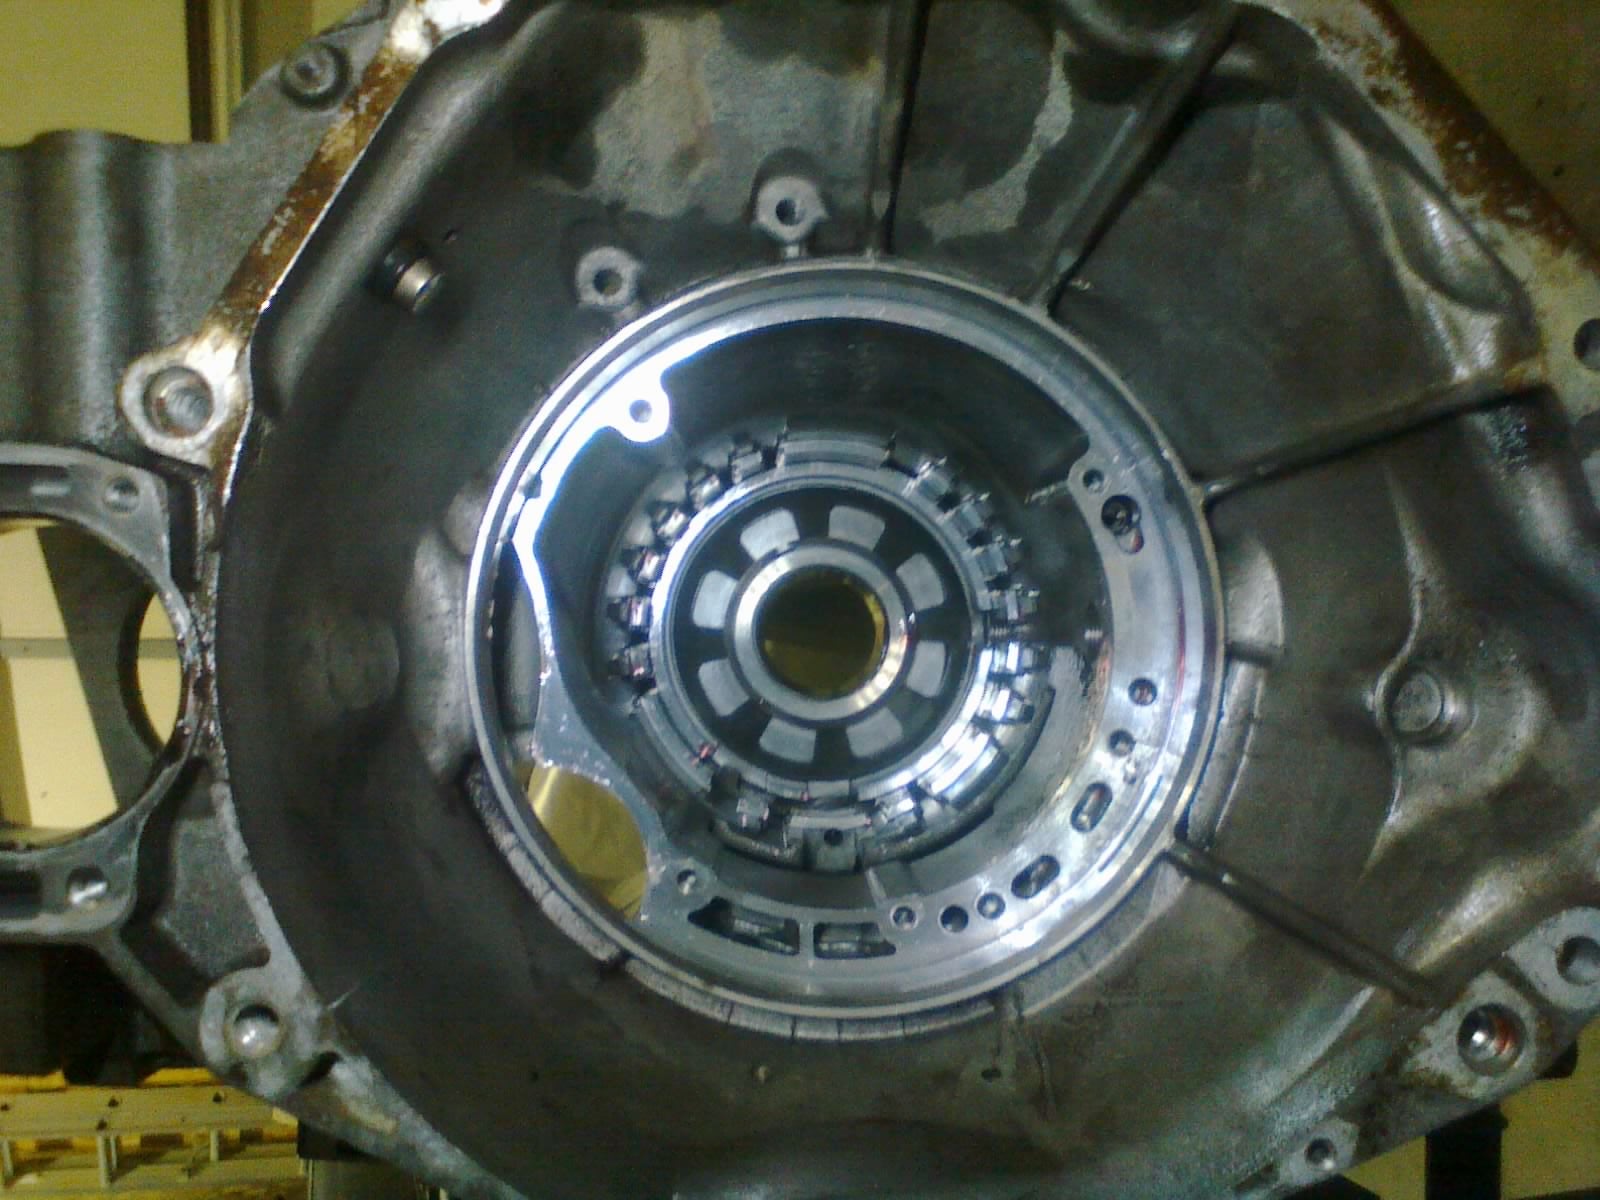
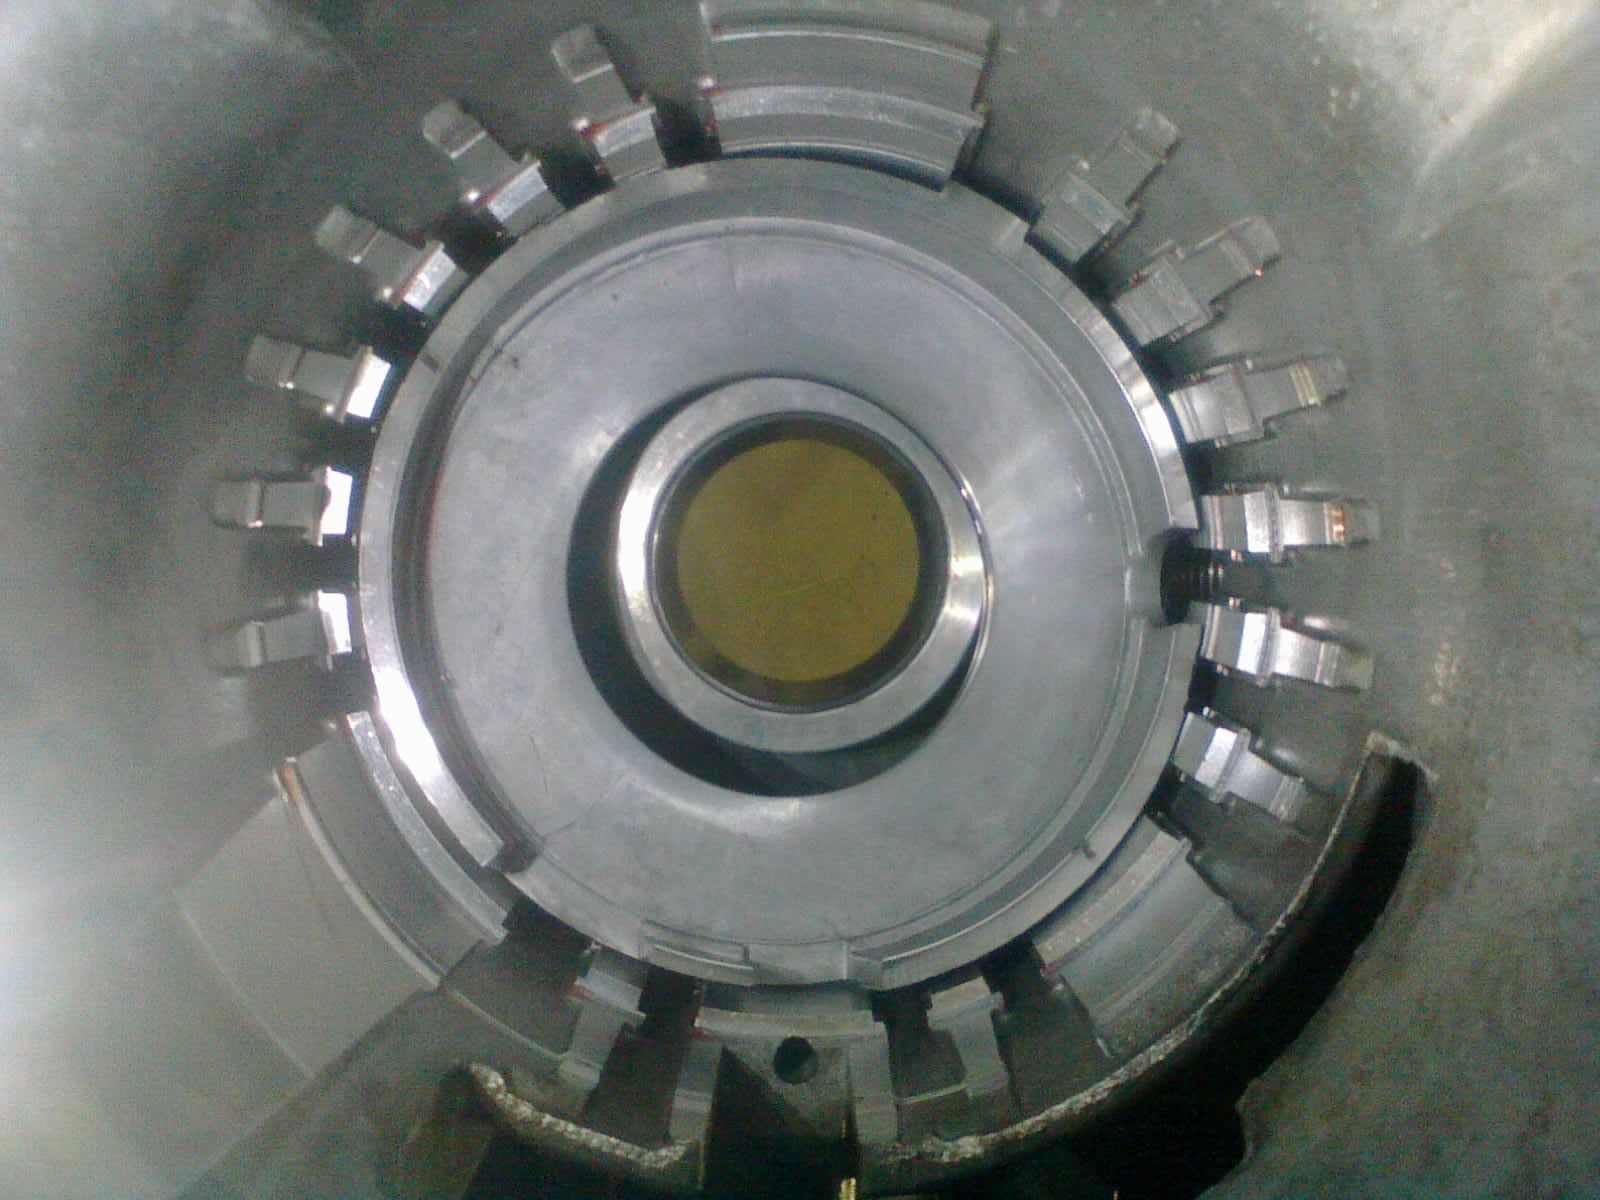
We’re almost there! But we need another special tool...
That bit that looks like the window of a TIE fighter is a strong spring. The eight fingers press upward against an external snap-ring that’s wrapped around that inner “snout”. All fingers must be compressed simultaneously, or else removal of the snap-ring could shave off some aluminum from the snout.
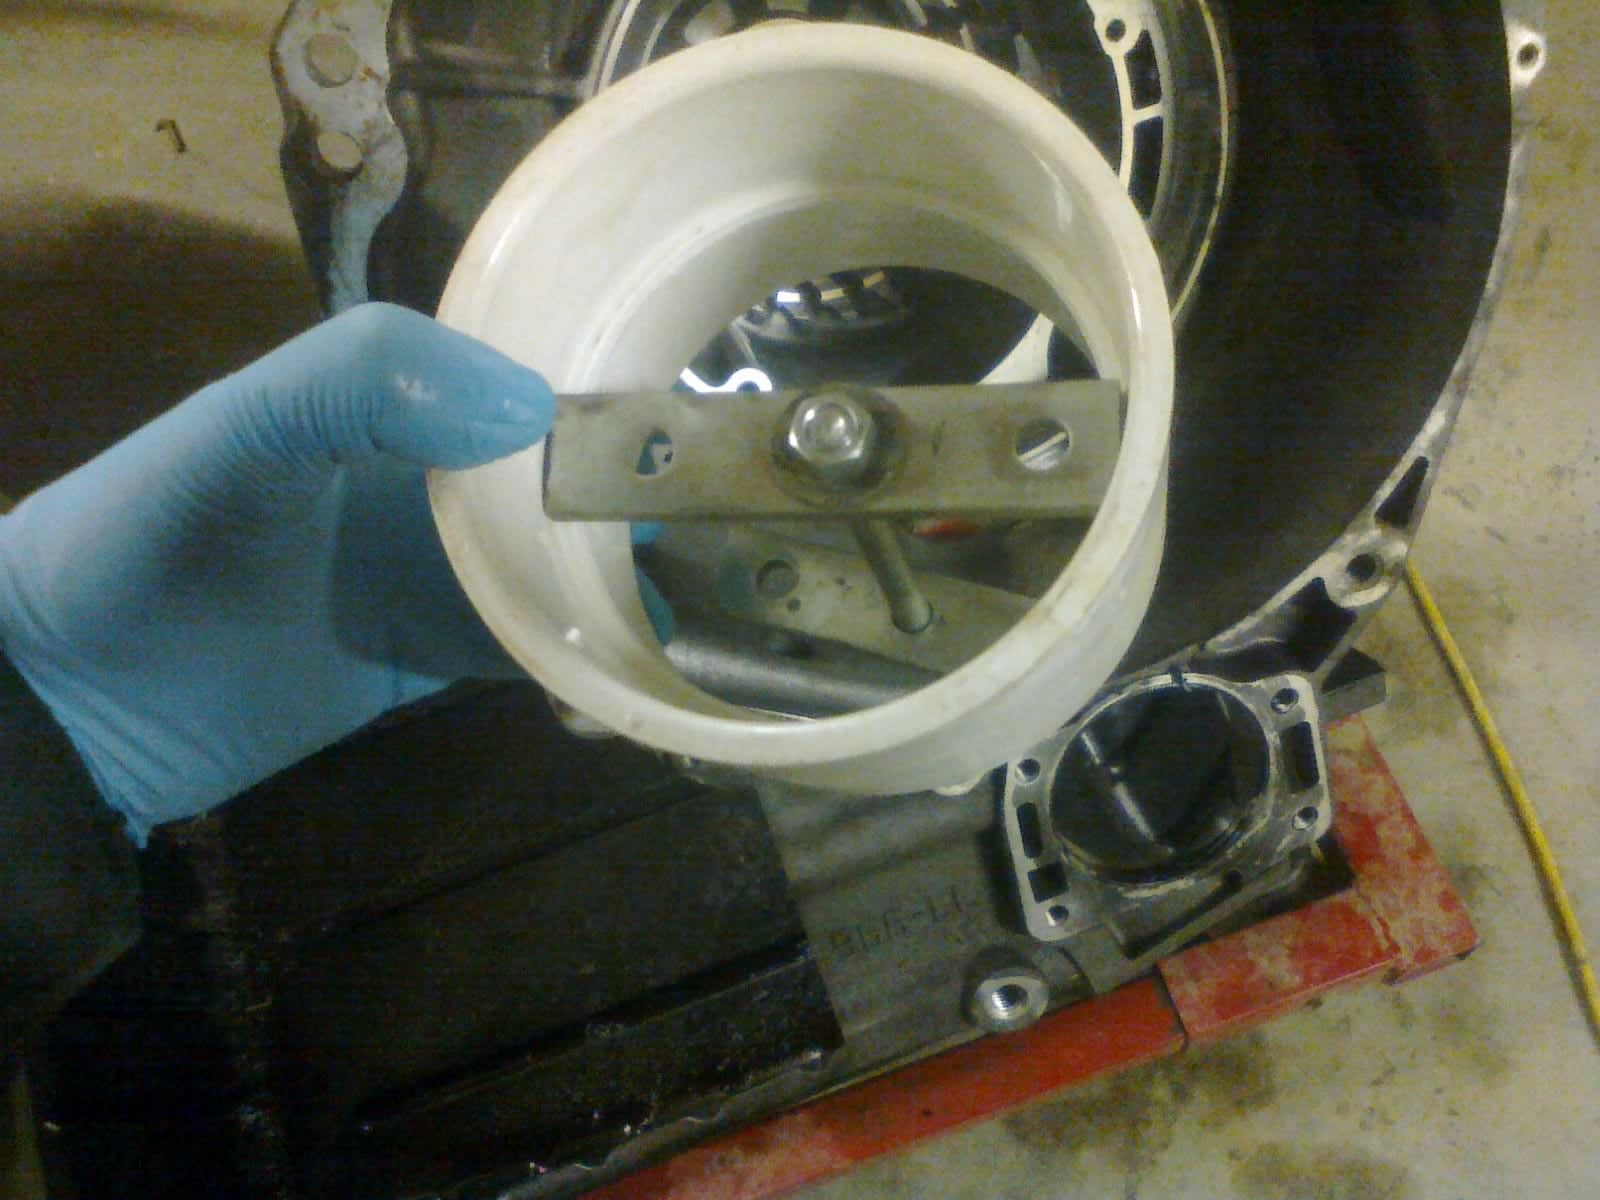
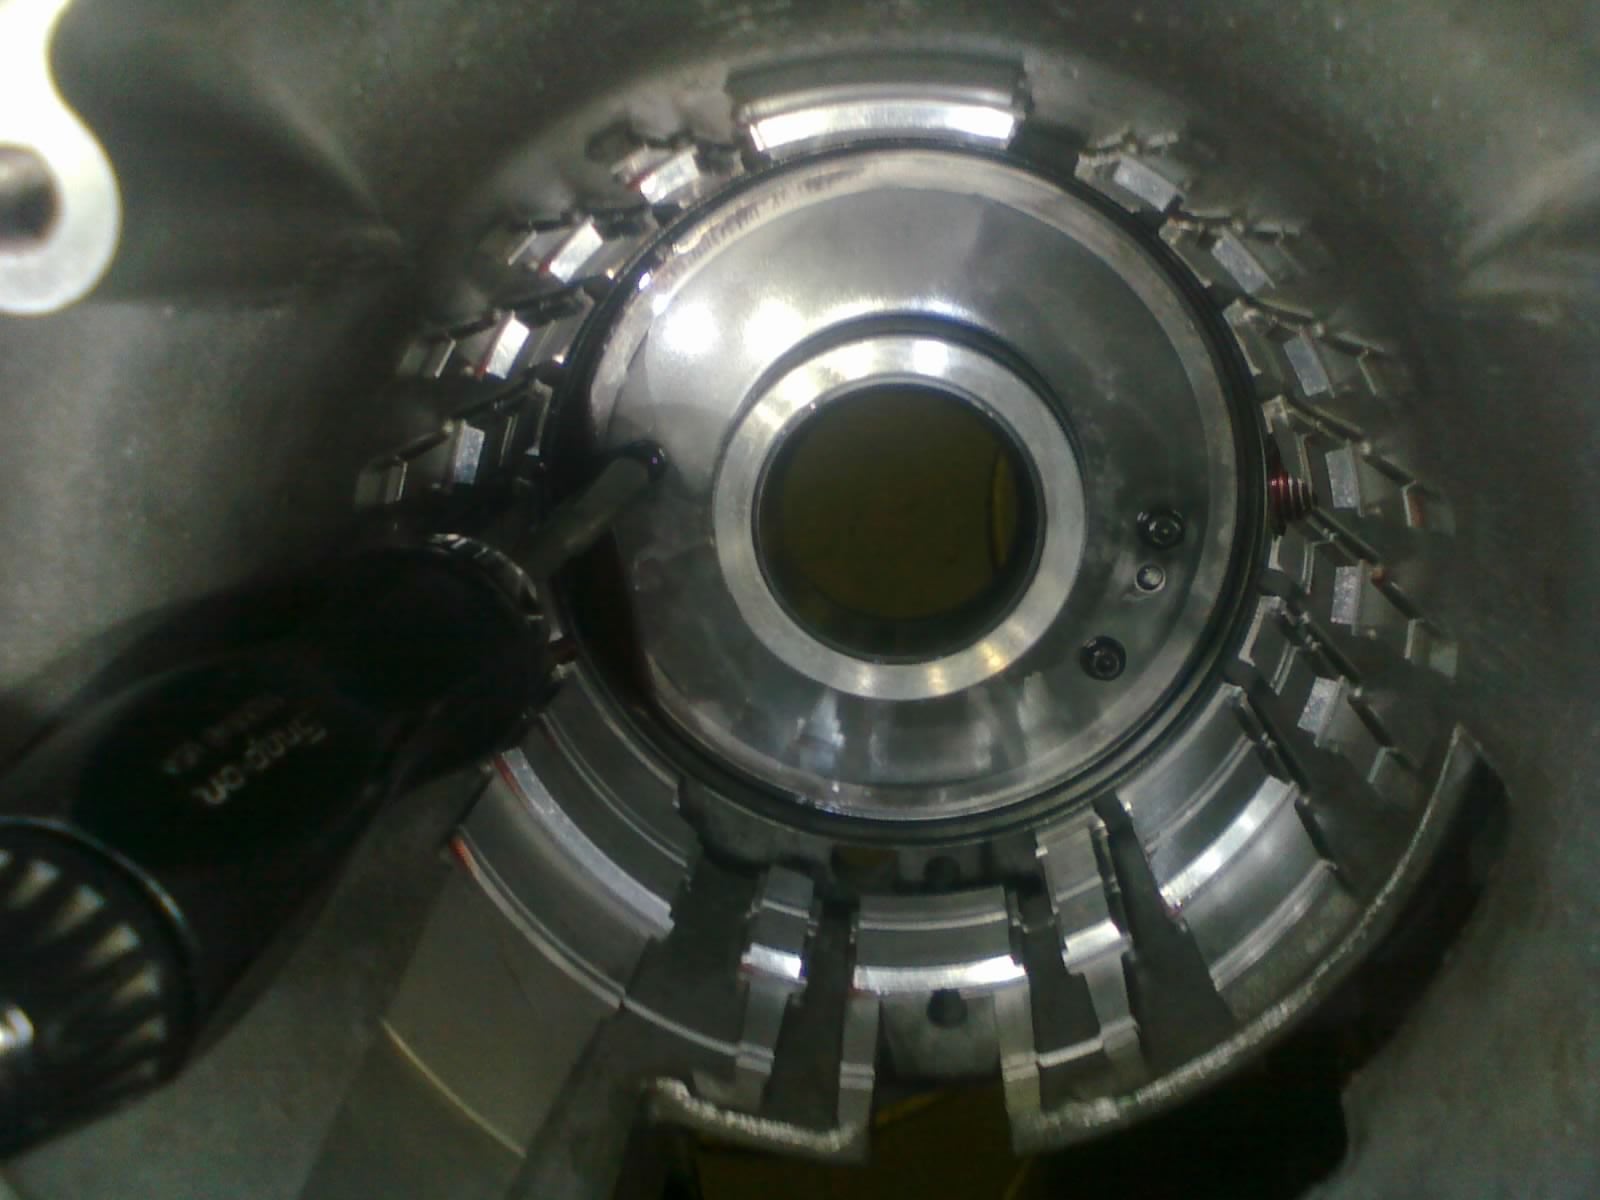
So instead of buying some fancy Miller tool, let’s just make our own! A little bit of DIY hardware clamps this big PVC coupler against the spring, while allowing some room for my snap-ring pliers. Take that, Chrysler!
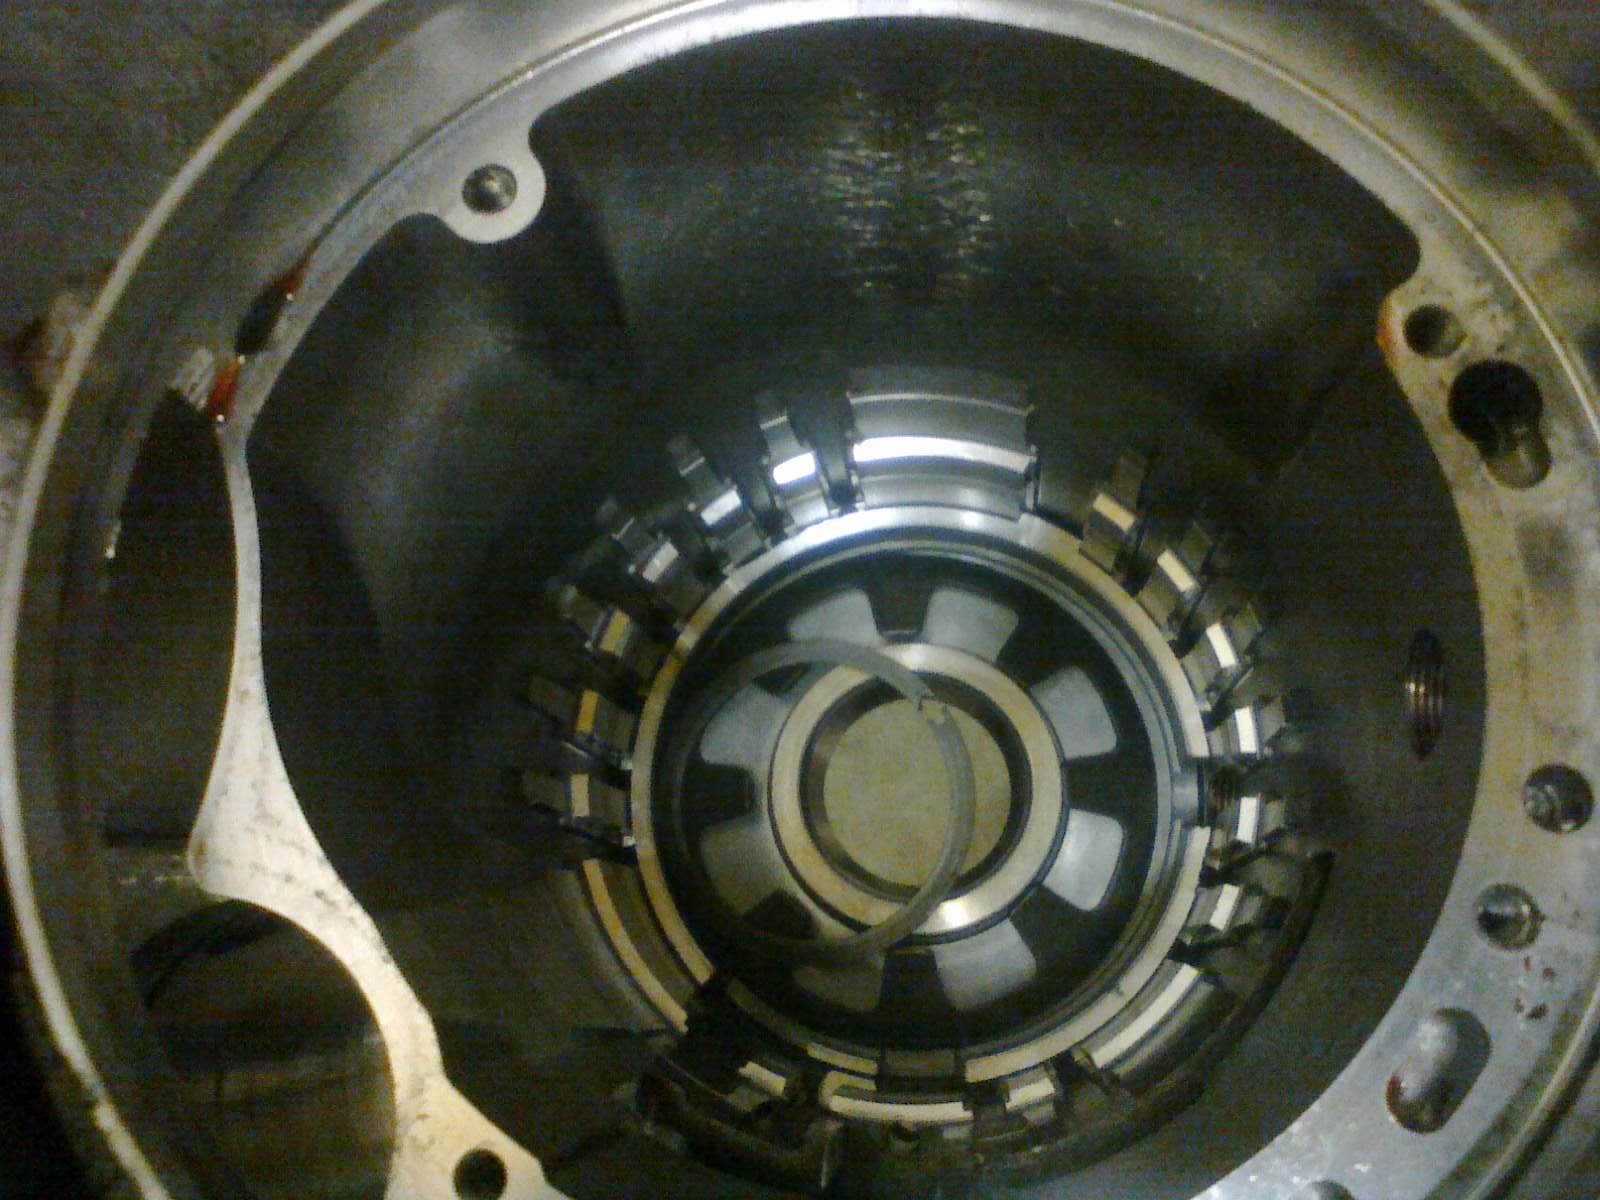
Now the snap-ring and spring are released
Then this low/reverse clutch piston comes out...
Unbolt the low/reverse clutch piston retainer
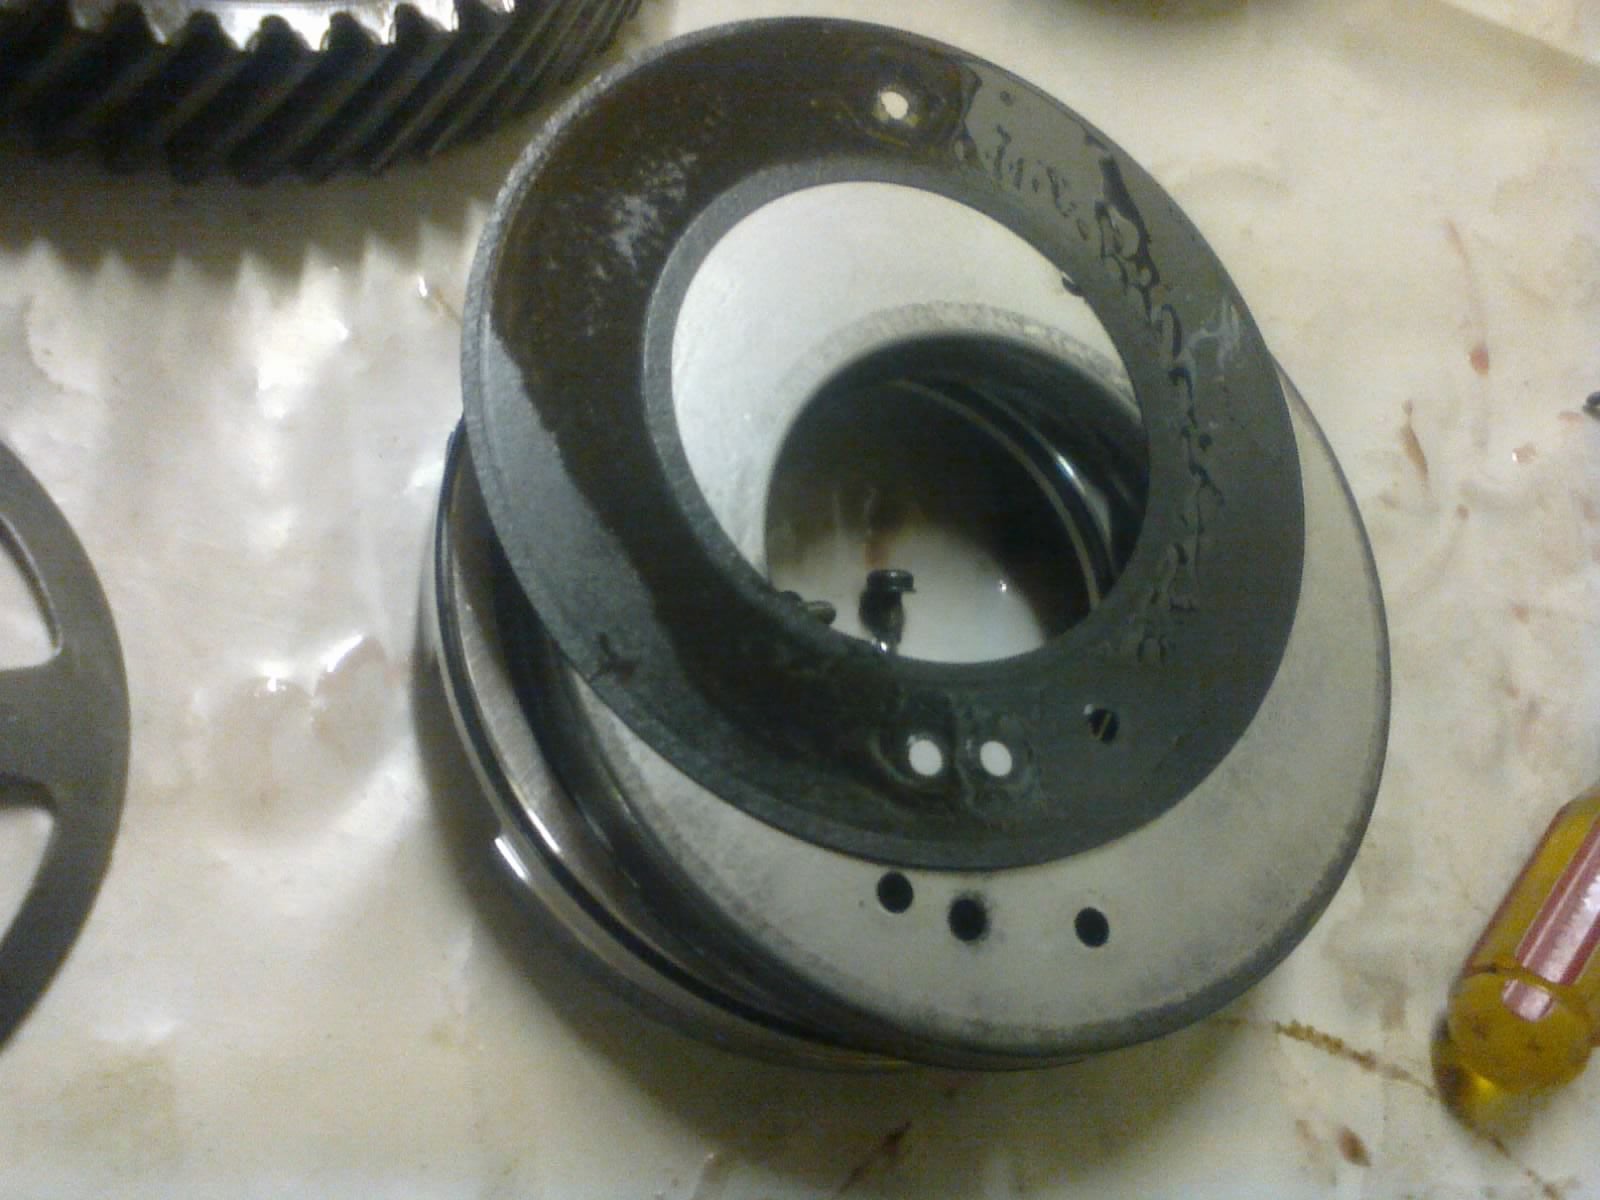
...and remove said retainer. Don’t forget the gasket!
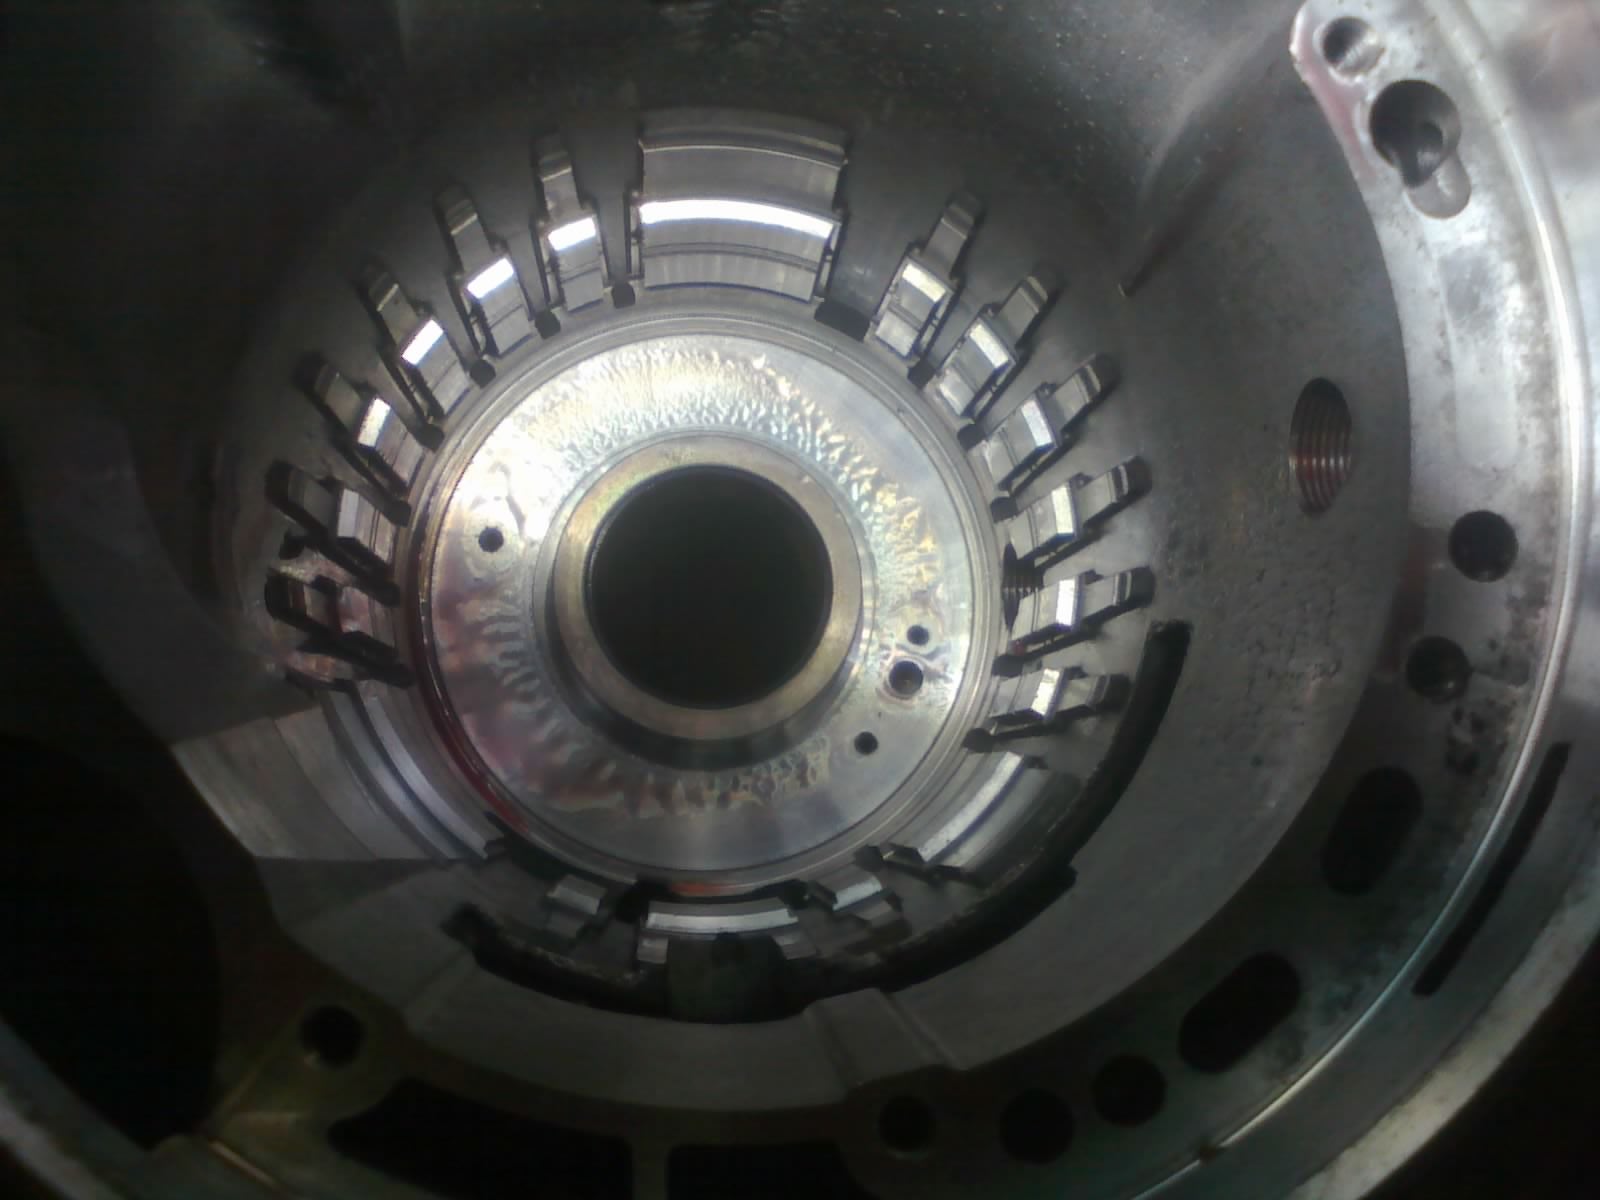
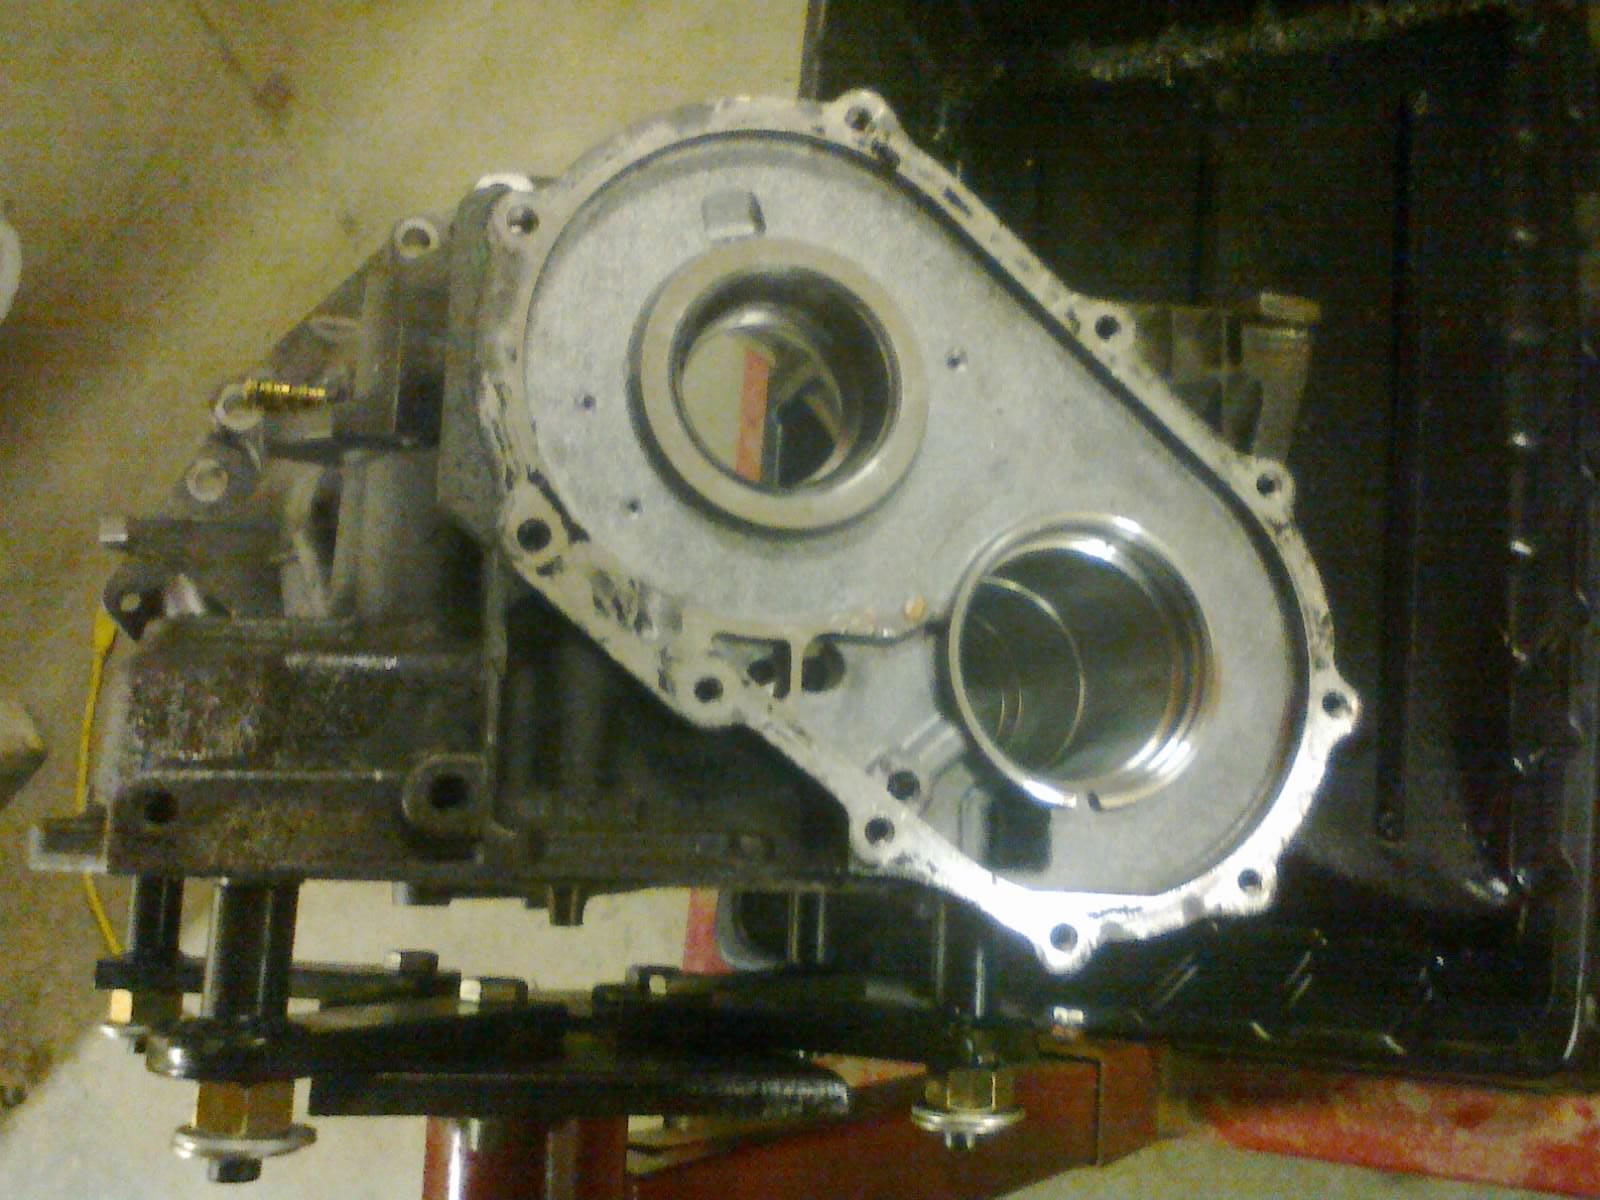
The bottom of the case
Some bits are staying on the case, but it’s otherwise empty. I removed the test port plugs (located underneath the solenoid pack), but I am leaving the brass cooler nipples in place. Also, the bearings and their races are all in good shape, so the two output races are staying pressed into the case.
This is what’s known as a “soft parts” rebuild. (Soft parts are the basic wear items found in rebuild kits: friction plates, gaskets, seals, etc. “Hard parts” are the major components that are often totally reusable. Sometimes you do have to replace shafts, drums, gears, bearings & races, etc.)
Now that the case is empty, it’s ready for cleaning. But we’re not done with disassembly yet...
Next up: sub-assembly teardown! !!!error: Indecipherable SUB-paragraph formatting!!!
 Birddog
> Urambo Tauro
Birddog
> Urambo Tauro
03/24/2017 at 18:39 |
|
This is awesome and I’m following close here.
The automagic trans is the only thing I have yet to tear down and rebuild. My confidence level is as high as Crusty’s trans is weak.
|
Urambo Tauro
> Birddog
03/24/2017 at 19:02 |
|
I really wish I would have taken pictures when I did my Thunderbird’s 4R70W. It’s an easier rebuild than this one.
If you’re interested, I still have links to the resources that I used.
|
Birddog
> Urambo Tauro
03/24/2017 at 19:15 |
|
I’m very interested. Crusty’s a keeper. If I can rebuild a 4R70 and have it in standby I’d be a happy guy.
|
Urambo Tauro
> Birddog
03/24/2017 at 19:40 |
|
TCCoA was my starting point. They have a bunch of tech articles about modifying and maintaining the transmission. However, my main resource was the excellent rebuild diary over at ExplorerForum. I downloaded a couple of YouTube videos as well, but I’m having trouble finding those links. Looks like there are a whole lot more videos on the subject than there were 5 years ago.